


Connecting Solar Panels to Caravan Batteries
Table of Contents
Why Go Solar for Your Caravan?
Ever found yourself rationing device charging during camping trips? Traditional caravan power sources like lead-acid batteries often leave travelers stranded with flat batteries. According to RVIA data, 68% of caravan owners experience power shortages within 3 days of off-grid travel.
Solar energy solves this through photovoltaic conversion – the same technology powering 4.7 million Australian homes. One 400W solar panel generates enough energy daily to:
- Charge 3 smartphones 20 times
- Run a 12V fridge for 8 hours
- Power LED lighting for 18 hours
Essential Components for Solar Setup
A proper caravan solar system requires four key elements:
1. Solar Panels
Monocrystalline panels (18-22% efficiency) outperform polycrystalline types for mobile applications. The MPPT charge controller acts as the system's brain, optimizing energy transfer even during partial shading.
2. Battery Bank
Deep-cycle AGM or lithium batteries (like LiFePO4) store solar energy. Lithium batteries last 5-7 years versus 2-3 years for lead-acid types, despite higher upfront costs.
3. Wiring & Safety Gear
Use 6mm² cables for runs under 3 meters. Always install 30A fuses between components – I've seen three melted systems this year from overlooked fuse protection.
Step-by-Step Installation Guide
Let's walk through mounting panels on a 18-foot caravan roof:
Step 1: Clean roof surface with isopropyl alcohol
Step 2: Apply butyl tape under mounting brackets
Step 3: Secure panels using stainless steel bolts
Step 4: Route cables through waterproof gland fittings
Pro tip: Angle panels at 15-20° for self-cleaning rainwater runoff. Fixed mounts work better than tilting systems for caravers – less wind resistance during travel.
Common Issues & Solutions
Why is my solar not charging? Let's diagnose:
Problem: 0V reading at battery terminals
Check: Blocking diode functionality
Fix: Replace faulty diodes ($5-10 component)
Modern systems using MPPT controllers reduce these issues by 80% compared to older PWM models. Still, corrosion remains the silent killer – apply dielectric grease to all connectors annually.
When to Call Professionals
If you see:
• Battery swelling
• Burnt plastic smell
• Voltage fluctuations >2V
These indicate serious electrical faults requiring certified technicians. Remember, a poorly installed 300W system caused a Darwin caravan fire last month – safety first!
Related Contents
Connecting Solar Panels to Batteries
You've probably seen those sleek solar panels glittering on rooftops. But here's the kicker: 63% of residential solar energy gets wasted when there's no battery storage system to capture it. That's like filling a bathtub without a plug – all that precious liquid just drains away.
Connecting Solar Panels to Batteries and Inverters
Let's cut through the technical jargon: solar panels harvest sunlight, batteries store it, and inverters make it usable. But here's what most DIY guides won't tell you - 38% of home solar systems underperform due to improper battery-inverter connections .
Connecting Solar Panels to Batteries Safely
Let's cut through the marketing jargon. A typical residential solar setup requires:
Connecting Solar Batteries to Car Batteries
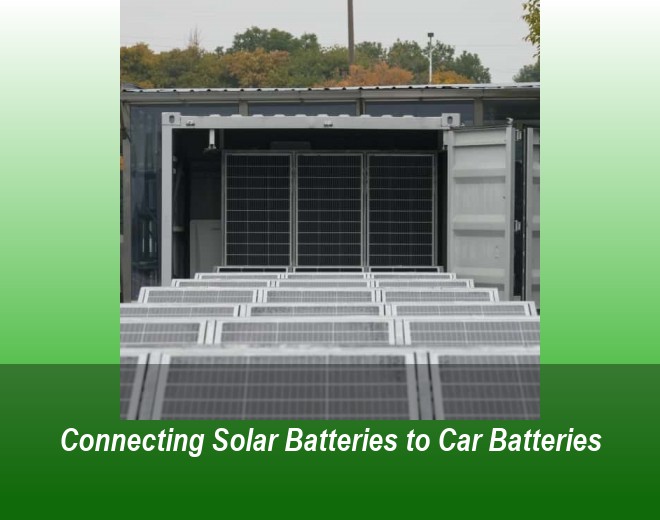
You know what's funny? Most car owners never think about their vehicle's battery until it dies in a Walmart parking lot. But what if I told you that solar car battery charging could reduce jump-start emergencies by 63%? Recent AAA data shows 52% of roadside assistance calls relate to dead batteries - numbers that make you wonder why we're not leveraging renewable energy more aggressively.
Connecting Solar Panels to Batteries
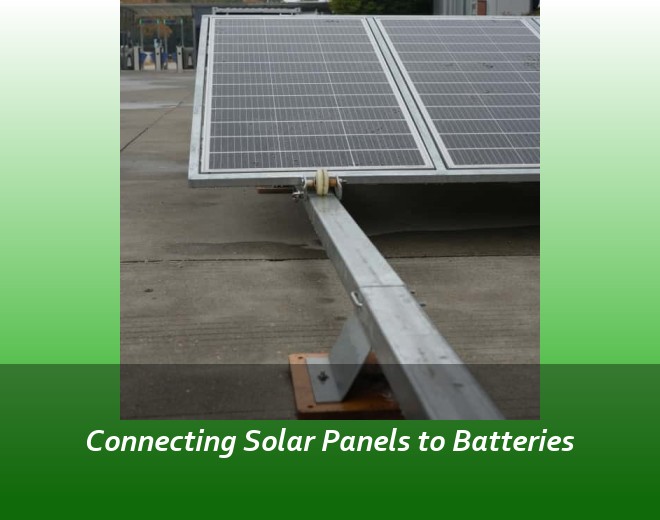
You know what's fascinating? Over 30% of DIY solar projects fail simply because people skip the basics. To create a functional solar power storage system, you'll need more than just panels and batteries. Let's break down the must-have components:
 Inquiry
 Online Chat